
DESCRIPTION ° TIPS&TRICKS ° MOVIE
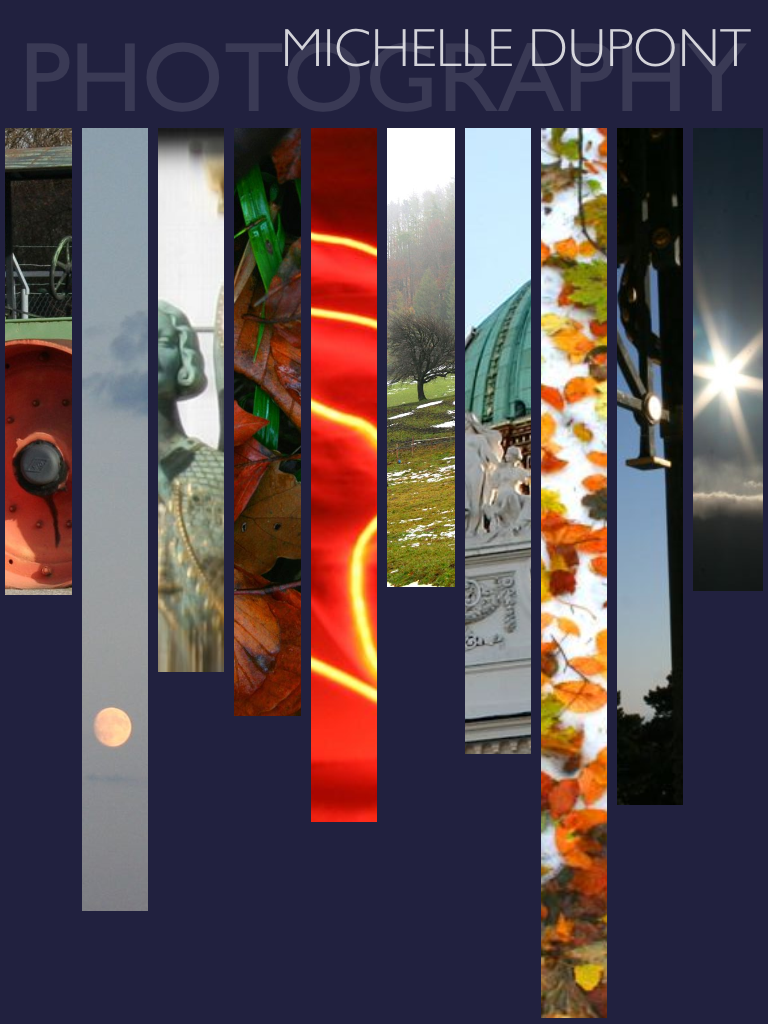
Screenshots and import can be used to design complex backgrounds.
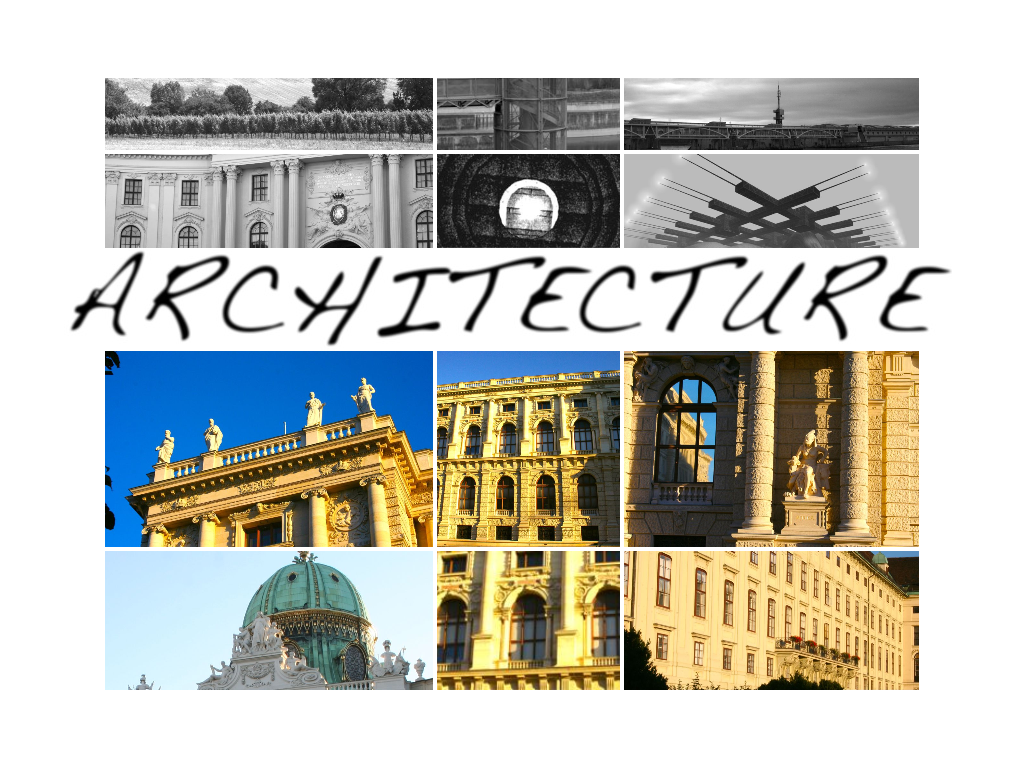
Arrange a page with color, photos and text.
Take a screenshot.
Import it as a background photo and arrange on top of it.
The page below is made by this method.
First the color was selected as solid background with the generator.
Then the "PHOTOGRAPHY" text was placed with transparency in a media box.
A screenshot was taken and imported as background.
After the import the photos and title were arranged.
The photo stripes are now albums with visual theme guidance.
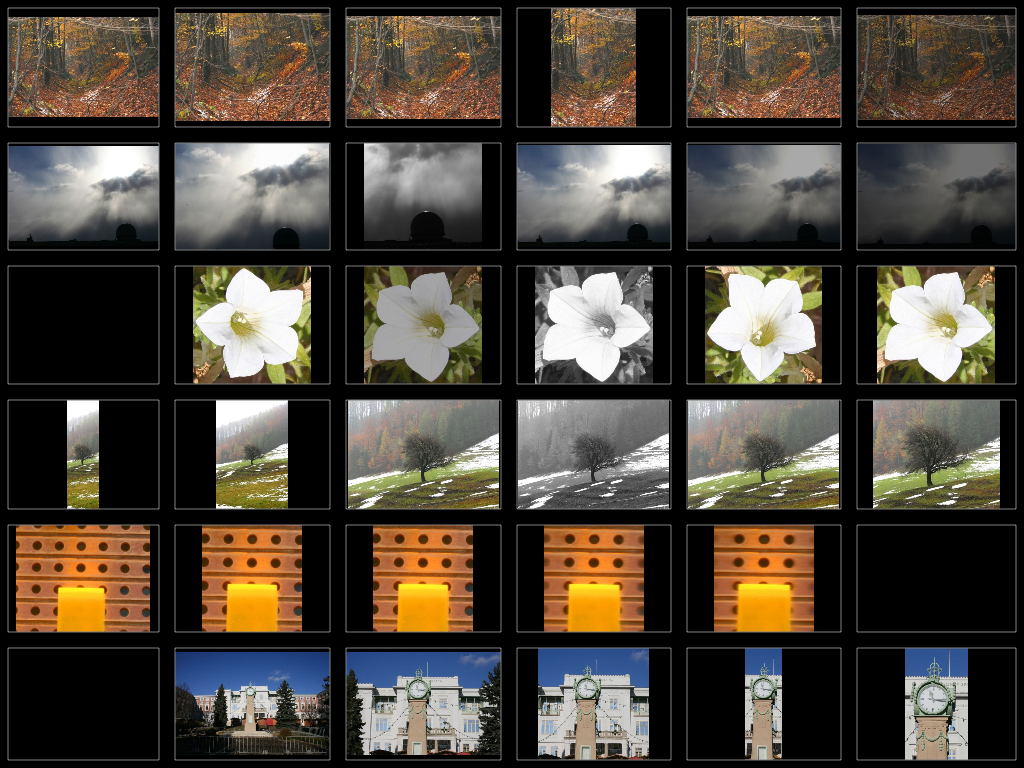
FLEXIBLE LIGHTBOX
The layout, background and text flexibility can be used to create
individual matching lightbox layouts for different needs.
Typically the lightboxes will be placed within a separated working area
of the hierarchy.
After creating a set of basic lightboxes you can easily copy and paste
the layout if you need a new one.
You are only one tap away from a fullscreen, zoomable compare.
ORIENTATION & ROTATION
The orientation of iPad, iPhone or iPod determines
the rotation of the photo in Luxflux when it is imported.
The exact time of determination is when the photo
of the camera roll is selected by a tap on it.
It is designed this way because on iPhone or iPod
the camera roll is only presented in portrait mode.
To be able to design in landscape mode this can be used
to view the photos in portrait orientation and then rotate
back to landscape orientation and tap the wanted photo.
This way a later rotation operation is not necessary.
PHOTO & TEXT ROTATION
Photos can be rotated by two methods:
In the photo editor.
Just use the usual rotation gesture on the photo.
In a media box.
Use the usual rotation gesture on the media box.
A special case is to rotate a photo in a very small media box.
Therefore the gesture is designed into two separated phases:
First, - place one finger on the target media box.
Second, - rotate with a second finger anywhere, even outside
the media box, in the wanted direction.
Text is rotated according to the current device orientation when
a text alignment is chosen in the text dialog.
If you want to rotate text, hold your device in the wanted
orientation and tap the wanted aligment.
BORDER, TRANSITION & TEXT BACKGROUND COLOR
There are two layers at the background of a page and the
background color selection is important even if you use
a photo or movie because it determines the background color
for fullscreen views and the page transitions.
PHOTO IMPORT MODE
If there is a camera available at your device
a double tap on a media box in import mode will
open the camera instead of the gallery.
The last method decision is also used for background import
and the box mode import.
If you need to change that without an actual import, use the desired
method of import on any photo box and cancel the import.
LABEL BACKGROUND
How to create the solid color backgrounds for
the text-labels like in the screenshots above.
Use the background generator at the photo import dialog
to create solid color backgrounds.
Export the background.
Now you have the solid color image at the camera roll.
Import it as the photo of the box containing the text-label.
PHOTO/MOVIE EXPORT & IMPORT
All photos, imported or recorded, are archived
by Luxflux with full resolution.
The export function saves a full-res photo to the camera roll.
Photos and movies which are directly taken within Luxflux
can be used with other apps and may be re-imported
after processing.
Another use is to edit a photo with the Luxflux photo editor
and then export and import it as a background photo.
For example if you want to use a filtered or cropped photo
for the background.
THE FOUR ARRANGEMENT MODES
 LAYOUT
Work with rulers to arrange a page layout.
Tap again on the symbol to toggle the layout dialog.
 PHOTO/MOVIE IMPORT
Tap a media box to import, double tap to record a photo or movie.
Tap again on the symbol to toggle the photo arrangement dialog.
 TEXT
TEXTTap a media box to edit its text.
 MEDIABOX
Tap a media box to add a new subpage and to edit its contents.
PAGE AND BOX RULERS
CREATE
To subdivide the display or any media box drag a ruler
from the display borders to the inside.
The direction of the drag determines at which side
of the ruler existing media boxes will become placed.
If you want to subdivide all possible media boxes, use a PAGE RULER.
If you want to subdivide a specific media box, use a BOX RULER.
ADJUST
Just drag the wanted ruler.
Please consider the ruler mode if some adjustment does not work.
For example a box ruler is not allowed to affect more than
the border between two boxes. Use a page ruler if you want
to adjust borders spanning multiple media boxes.
ALIGN
To align media boxes use a page ruler.
Start dragging the ruler of the first box you want to align
and pick up all rulers you want to align by pausing the drag when
the dragged page ruler is positioned approximately "over" the
to be picked up ruler.
ERASE
To erase a media box drag its ruler back to the display borders.
The direction of the drag determines at which side
of the ruler the media box will be erased.
The red area marks the media box to be deleted.
DRAG A MEDIA BOX TO REARRANGE
In PHOTO/MOVIE and MEDIA BOX mode:
Drag a media box onto another media box for fast rearrangement.
The media boxes will be exchanged.
In TEXT mode:
Drag from a media box containing text onto another media box
containing text, to copy the settings for alignment, font, font size
color and transparency.
Drag from a media box containing text onto another media box
without text, to copy the text and all parameters.
XAN COMPATIBILITY
The XAN MPEG-4 movie export can be imported into LUXFLUX.
And it can also be imported as a finger painted, looped background
movie and you can arrange photos, movies and text "above"
that background, like with any movie, that's not XAN specific.
FULL DYNAMIC
A Luxflux testing student uses the "full dynamic" filter
in the photo editor to adjust photos for excerpt
integration and annotation purposes in his studies.
Instead of the usual scans of printed materials like books
he uses the camera of his iPad and gets the job done much faster.
He imports the "scans" and produces some outtakes with the passepartout
photo cutter at the photo editor and the grayscale filter to remove
color artifacts caused by the room lighting.
Working on white background the problem was the gray background
from a not so perfect "scan" photo which he adapted
with the "full dynamic" filter.
He provided a "before and after" screenshot:
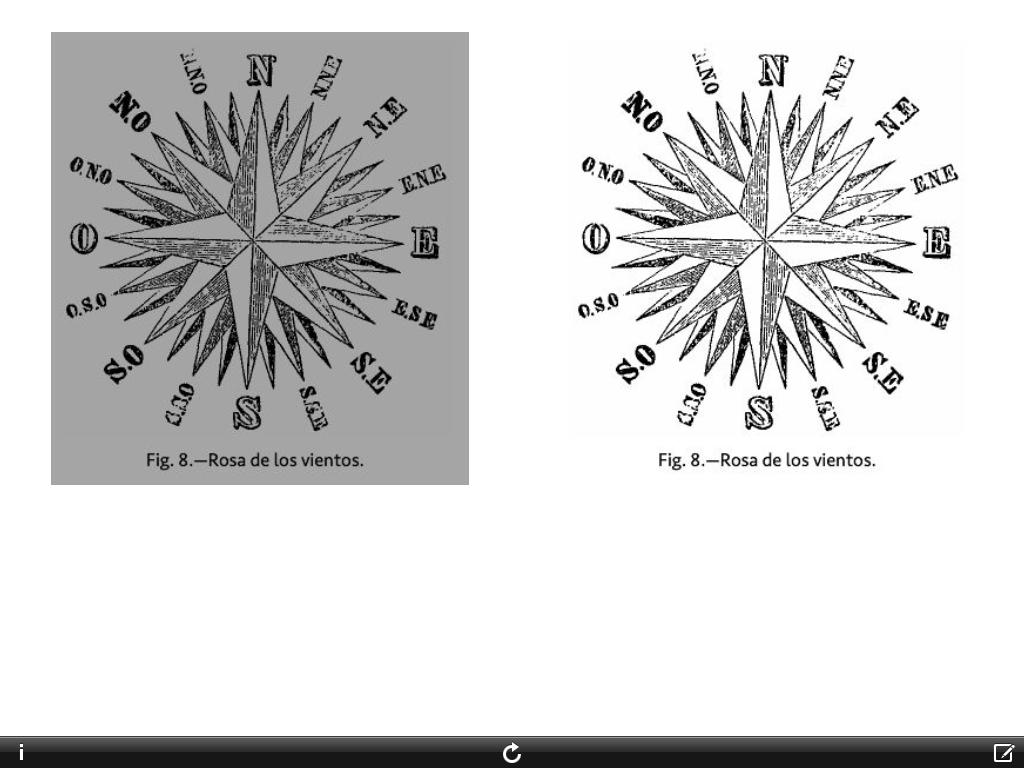
The illustration source is "COSMOGRAPHIA by AMADEO GUILLEMIN".
STORY DEVELOPMENT - HIDDEN INSPIRATIONS
Luxflux is evaluated by authors within different genres
as a media-rich tool to develop and review their stories.
The basic organizing structure used by Luxflux is the hierarchy.
But the minimal form of a hierarchy is of course a sequence.
So, after some concerns that Luxflux may be inefficient
at sequential story creation and construction, actually
the authors developed an interesting working habit.
They build up their story and use the hierarchy for their
own annotations and supporting/inspirational material
like text snippets, location and prototype photos and
photographed sketches.
These working materials are hidden "under" small layout
units, usually marked only by one very transparent glyph.
When they are presenting to publishers, editors and friends
for discussion, only the main sequence is navigated.
If there are interesting comments they open the hidden
subpages and write them down, or even record a small interview
movie at the correct place.
The flexibility of any depth at any point by adding
subpages was of course valued as positive feature.
The big negative point was resolved with Version 2.4:
A great enhancement regarding this specific application
is the new ability to add a page "above" or "before" existing
pages. The authors usually need to expand any position
within a story concept to set the right pace.
More details are behind the photos.
Because this is a film concept there is more focus on location scouting.
This author navigates by the Bodoni Ornaments within the main story
and uses the hierarchy additionally to have story variations
behind the other "Bodonis" as she calls them.
Also the actual camera oriented storyboard is behind a "Bodoni".
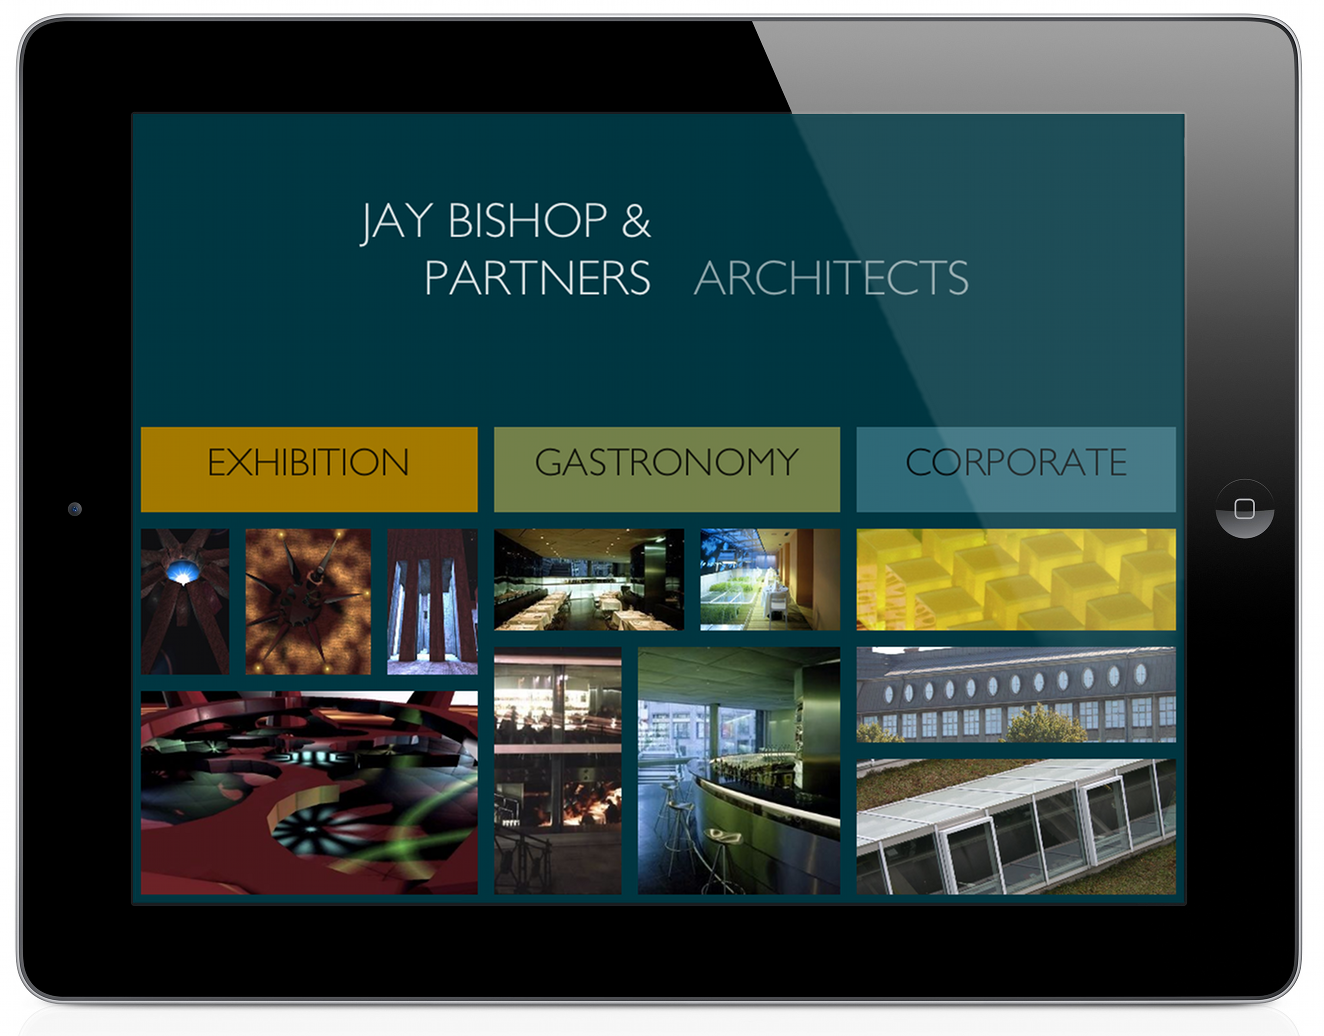
PHOTOS - IMAGES
Luxflux is designed to be useable with a standalone iPad, iPhone, iPod.
Therefore the examples are mainly photographs.
But of course it can also be used to work with computer generated
images and renderings.
The background with the title is a imported image, not a photo.
Some elements are preview renderings of architectural concepts.
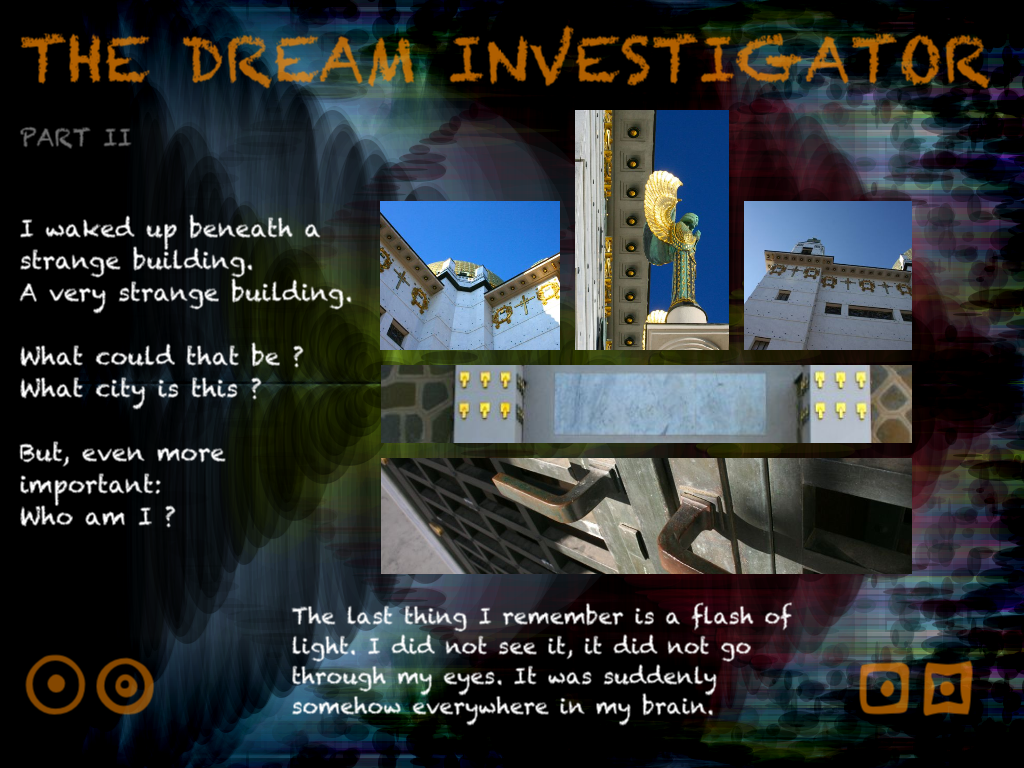
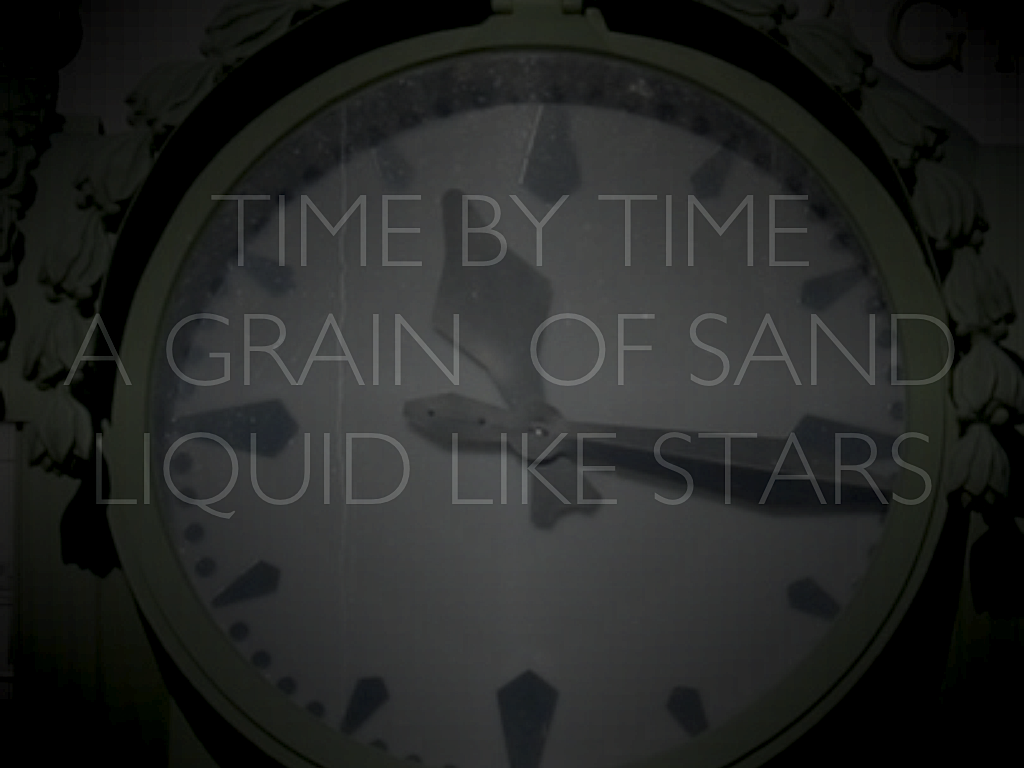
REDUCE INTENSITY ???
Well, the intention of the "reduce intensity" filter is not to destroy
your great photographs but for example to produce category labels
or to create a certain atmosphere, especially with text overlays.
When your design does not allow for contrasting text colors or
the photo contains every possible text color
this filter may be of use.
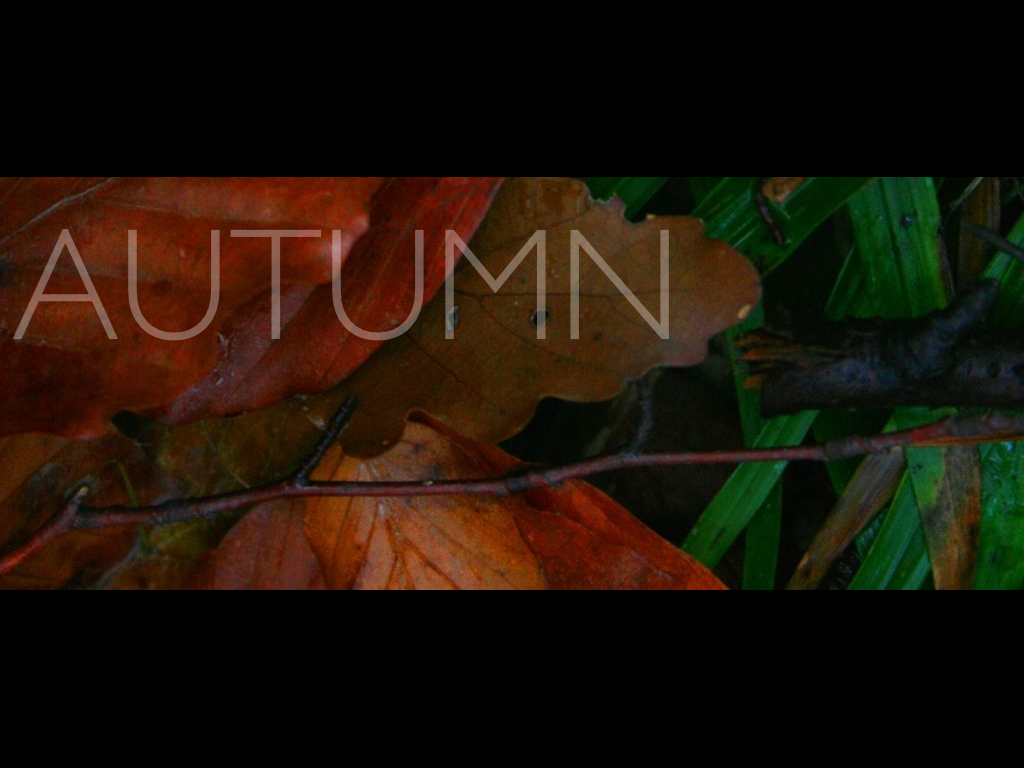
Multiple reduced intensity outtake detail
plus transparent text overlay:
Tweet
DESCRIPTION ° TIPS&TRICKS ° MOVIE